Photoshop, Final Cut, Motion, After Effects, ZBrush (including ZBrush ‘Z’ logo), Cinema 4D, Bryce, Maya, 3DS Max, Vue, Carrara, Lightwave are Trademarks and/or Registered Trademarks of their respective companies and/or publishers.


Prev - Next
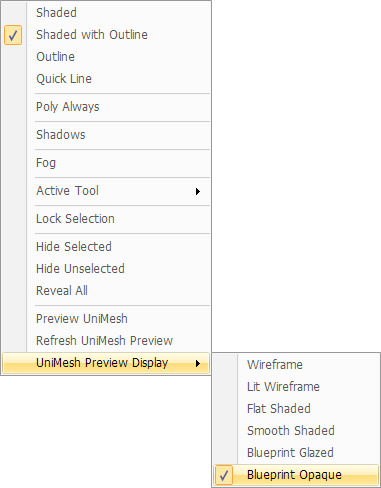
Scene Context Menu
Right Click or Control-Click on Background in Workspace
1 . Show/Hide Options
Show or Hide any Primitives. Hidden objects can not be selected (so they are never affected by any editing tool). Hidden objects will not be included in any SeamNet Mesh.
2 . Export Mesh Generation & Display options.
These three items allow you to preview your mesh in the workspace prior to exporting.
The ‘Display’ item switches Mesh Previews on/off (it triggers the mesh generation when switched on).
‘Refresh’ is used to update the mesh (after you change settings, like Density).
The ‘Export Mesh Display’ item offers several flavors of the OpenGL mesh display (works instantly - does not trigger mesh generation).
These same functions are available in the Output Panel.
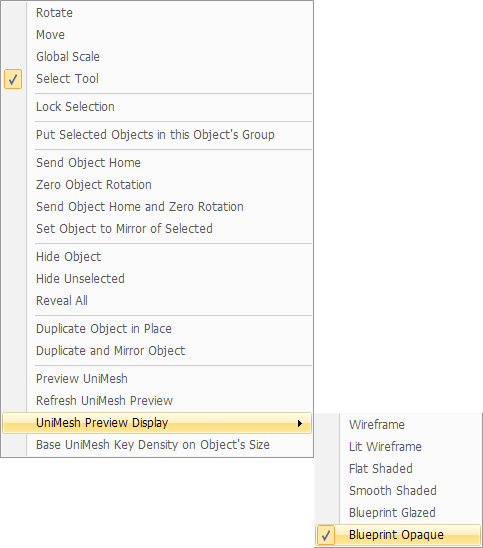
Object Context Menu
Right Click or Control-Click on any
Object in Workspace
1. Put Selected Objects in This Object’s Group
Any selected objects will be assigned to the Clicked Object’s Group -- An easy way to add objects to a Group without having to go to the Selections & Groups Panel.
2. Send Object Home, Zero Rotation
Send Object Home has been extended to handle selections. Selections are moved as a group, maintaing their relative positions.
3. Set Object to Mirror of Selected
Makes the Clicked Object a X-Mirrored version of the Selected Object. Mirrors location (relative to GroBoto’s World Center), Rotation, and copies object’s shape parameters (shape only copied if both objects are of the same type).
4 . Hide Objects
Convenient way to hide a single object (without having to select it first... ‘tho it will work on selections as described above).
5 . Duplicate Options
‘Duplicate in place’ creates duplicate object(s) in exactly the same location as the originals. ‘Duplicate & Mirror’ mirrors the objects in World X (world X is the only symmetry supported in this beta version).
6 . Export Mesh Generation & Display options.
Same as in Scene Context Menu (see #2 in the notes on the left).
7. Base Mesh Key Density on Object’s size.
Convenient way to set SeamNet Mesh Density Key based on a single object (without having to select it first). It duplicates the button in the Output Panel.
Context Menus • Beta Additions • Windows OS
There are some new options, and several new and old options have been updated to work on a single object, or a selection of Objects. If no objects are selected, the option applies only to the clicked object. If more than one object is selected, you will be asked if to want the option to apply to the selection or just the clicked object.
Windows Page
Click icon to switch to Mac


1.
2.
3.
4.
5.
6.
7.
1.
2.